
Having the right plant-based staples in your pantry is important, but how you organize them makes a big difference in whether you’ll actually use them, and how fast you can prepare really good food that uses them. Setting aside a half-day or two to improve your kitchen systems will save you hundreds of hours in the long run.
A common complaint about going plant-based, especially for those aiming to use whole foods as much as possible, is that it takes more time. Obviously, cooking vegetables, whole grains, and legumes from scratch does take longer than pulling frozen nuggets and fries out of a plastic bag. The meal you get is a reflection of the investment you put into it. But there are two tweaks you can make to your kitchen to make cooking more efficient: using pull-out drawers and storing everything in assorted clear containers. Combining the two works wonders!
Cooking meals based on whole plant ingredients (whole foods plant based) is easier once your mindset shifts away from the constant search for convenience and toward the combination of simple yet wholesome ingredients. I found that my plant-based cooking creativity improved once I set my kitchen up for it. Ready to give it a try?
Hack 1: Install pull-out drawers (or try this low-cost hack instead)
If you are building a brand new kitchen, choosing pull-out drawers as opposed to shelves is a no-brainer. If you are not planning a renovation any time soon, though, you can still enjoy the boost in kitchen efficiency from installing pull-out drawers (or trying my low-cost hack).
Your drawers have to be at least as deep as your tallest container.
How do pull-out drawers make a difference for whole foods plant-based cooking?
- Gives you a bird’s eye view of the ingredients available to you.
- Broader range of ingredients visible at once, increasing the odds of actually using them.
- No more ingredients hiding at the back of a shelf! Equal opportunity storage.
- No need to take ingredients out all at once before starting to cook. Just pull the drawer open, take what you need, and shut the drawer again.
- More comfortable for your back.
- Most powerful when combined with a uniform storage system (see hack #2 below) and positioned exactly where you do most of your food prep.
High- and mid-range options
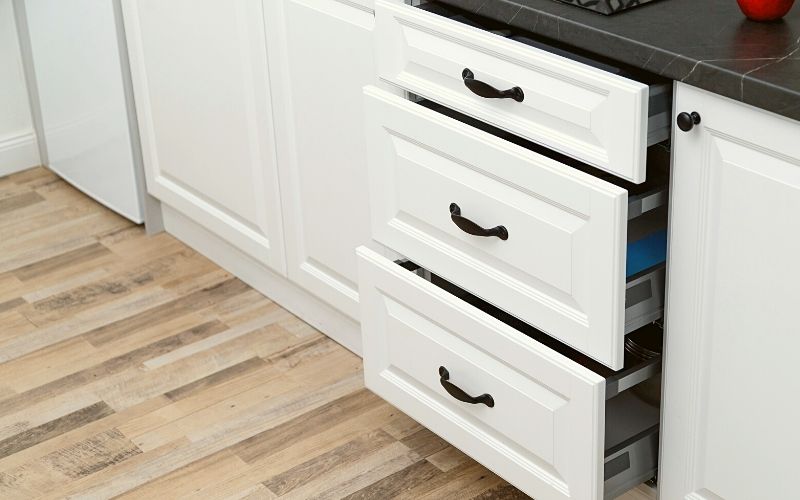
Go custom: When we moved into our new home, which had a 25-year-old kitchen, we were tempted to do a full kitchen renovation and wrap the costs into our mortgage. However, the layout was functional, and the cabinets, despite their age, were in excellent condition. Imagining them in a heap at the dump was disheartening. Instead of spending $50,000 or more to replace everything, we spent less than 10% of that on custom pull-out drawers from Shelf Genie. (I have no affiliation with the company.) We paid extra for the “heavy duty” grade of hardware. (I am still not absolutely certain it was necessary, but for peace of mind it was worth it.) Here is what it looks like:
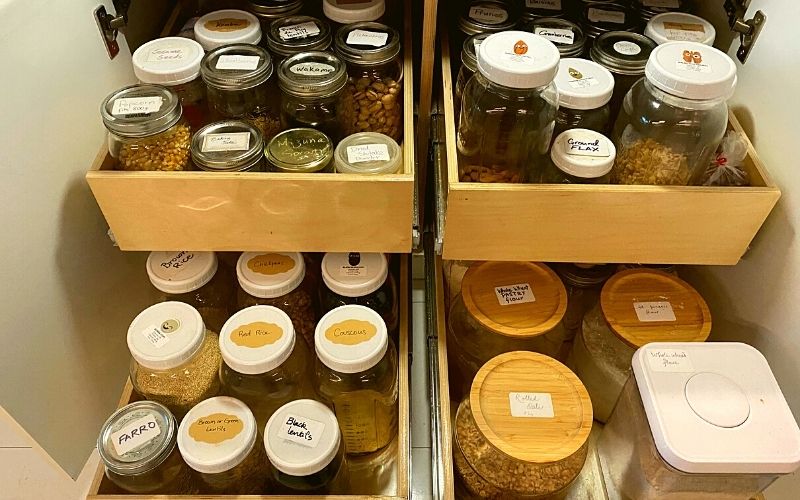
I have pulled out all of those drawers multiple times every day for almost five years now and they show no sign of aging at all. I am confident I won’t need to make more changes to my kitchen for another 10 years. (For the record, we also have similar drawers to house cookware and in my secondary food storage area.)
Take a trip to the hardware store: If you are the DIY type, you’ll be able to accomplish very reasonable results with mainstream products, as long as you find the exact fit for your cabinet width. (I found the Rev-a-Shelf brand available in the USA – no personal experience with it, but it may help get your search started.) Note that many store-bought solutions are made of metal wire, which isn’t ideal for holding glass jars (see below). I’d recommend adding a thin board at the bottom to create an even surface, and securing it so it doesn’t rattle around.
Low-cost alternative to pull-out drawers: big shallow baskets
When I lived in rental apartments and we couldn’t make significant changes, I used rigid, shallow plastic baskets that I found at the dollar store. I was able to fit at least 9 quart-sized jars per basket. Pulling the basket I needed and putting it on the counter was better than feeling my way in the dark of the bottom cabinet in search of that bag of vital wheat gluten.
Alternatively, one could cut off the bottom of a nice cardboard box to make a deep tray.
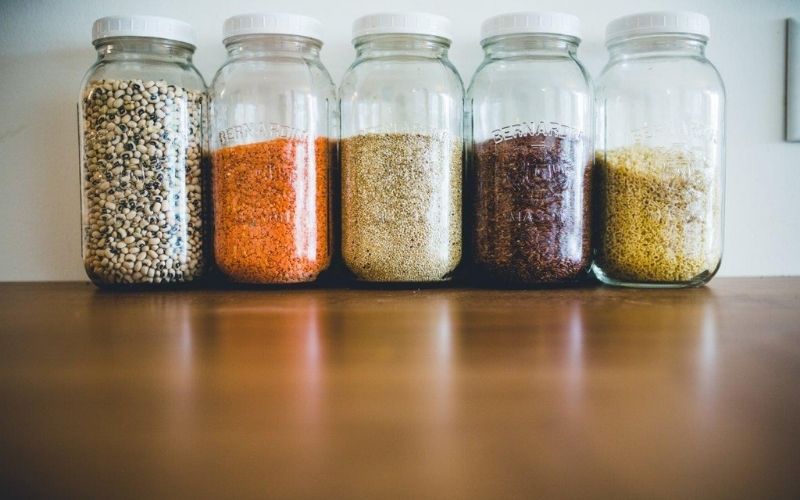
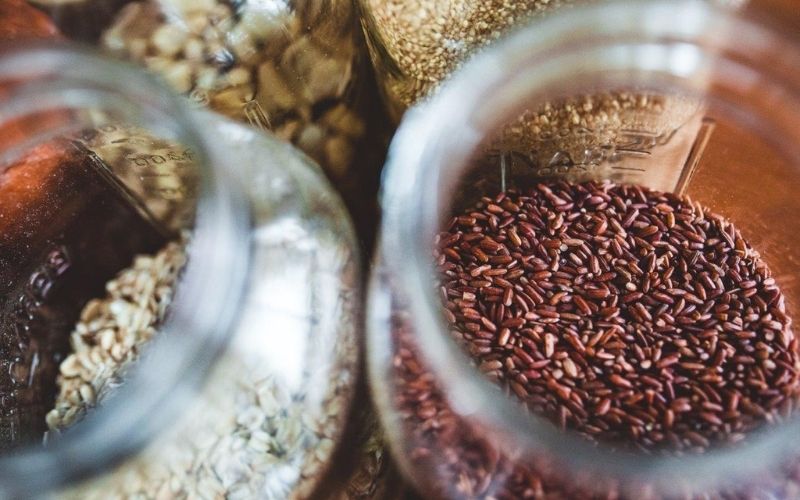
Hack 2: Transfer all basic ingredients to assorted clear containers
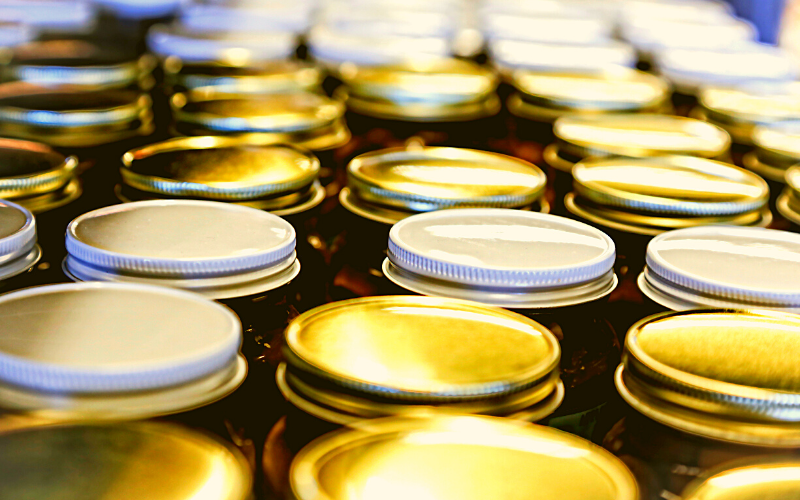
This hack is fantastic on its own, but combined the pull-out drawers it makes a world of difference! Personally, I chose to use mostly Mason jars, but there are many options.
How does using assorted clear containers make a difference for whole foods plant-based cooking?
- Easier to see your ingredients – and how much you have left of each – at a glance.
- Similar-sized containers use space more efficiently and make it easier to retrieve what you are looking for than a pile of half-used boxes and bags of ingredients.
- Encourages bulk/packaging-free purchases.
- Using airtight see-through containers decrease your risk of a pantry moth infestation.
- Mindset shift: Having a limited number of containers in your main cooking space may prevent you from buying a special ingredient for a single recipe (that you’ll never make again), encouraging you to find a suitable substitution instead (or asking a neighbor for the small quantity you need).
- Makes grocery list prep faster: Reviewing your ingredients to assess what is getting low and needs to be replenished at your next trip to the store happens in seconds.
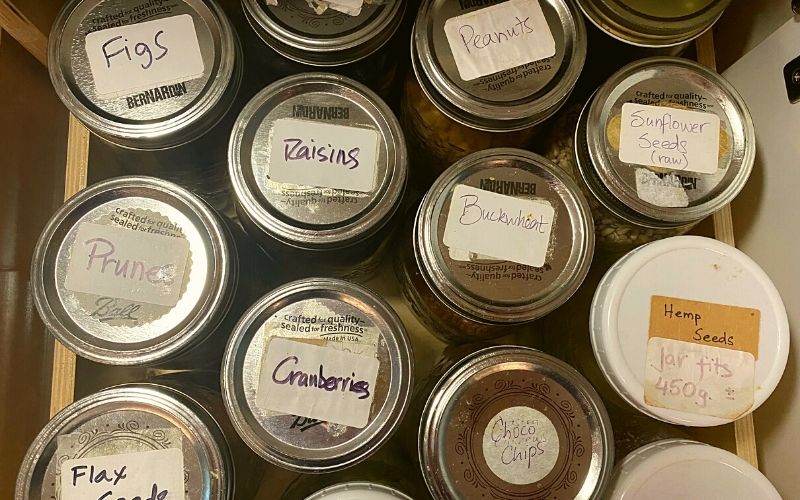
It doesn’t need to be pretty, but it needs to be labeled and space efficient.
Why I chose wide-mouth Mason jars to organize my vegan pantry organization
- I’d rather use glass than plastic for long term, durable storage.
- They are affordable and easy to replace with an equivalent container if one breaks.
- Quart-sized jars (1L) contain a 2-4 weeks’ supply of semi-perishable ingredients I use most frequently, like nuts and seeds.
- 2-quart jars (1.9L) contain a 1-2 months’ supply of non-perishable ingredients I use every week, like beans and whole grains (quinoa, rice, etc.).
- Smaller jars are great for leftovers as well as meal prep dishes like soups, stews, and sauces.
- Lid sizes are limited to standard and wide-mouth, so finding a compatible lid from my lid drawer takes no time.
Straight-walled wide-mouth jars are my favorites.
Downsides of using clear containers like Mason jars for plant-based pantry organization
- Transferring your purchases from the grocery store into the containers takes some time.
- This system requires a secondary storage area for the overflow (when you buy more than fits in your containers).
- Mason jar 2-piece lids are meant for canning and it can be inconvenient to fiddle with the two parts when using them for storage. The canning lids are made of non-stainless steel and can rust.
- Many of the canning lids are lined with a thin plastic film (BPA or similar). However, one-piece lids for food storage can be purchased easily. Not all are airtight or watertight. Better lids (stainless steel lined with silicone) are available for purchase from online merchants but more expensive.
- Glass containers can chip or break.
Alternatives to Mason jars for plant-based pantry organization
Glass: Multiple brands of stylish (and expensive!) glass jars are marketed to the zero-waste crowd. Many have glass lids and require rubber gaskets for an airtight closure. I personally find them beautiful but not practical. IKEA sells reasonably-priced glass containers of various sizes and shapes, many of which offer the option of bamboo lids. (I use those for flour and oats and love the wide opening – perfect for scooping!) Old fashioned glass canning jars with the lid attached are sweet looking, but I personally find the attached lids inconvenient.
Plastic: Various brands make plastic food storage containers, some with airtight seals. I do own two of those that I use for flours. I like that the opening is bigger (which makes it easier to scoop out the flour) and that they are rectangular (so they use the space more efficiently).

Organize your plant-based pantry on a budget (with the planet in mind)
- Explore your local thrift stores and find out which have the biggest kitchen supplies section. Visit regularly and buy Mason jars in your favorite sizes.
- Ask your neighbors and local Buy Nothing Project group for jars. It’s hard to find big jars that way however.
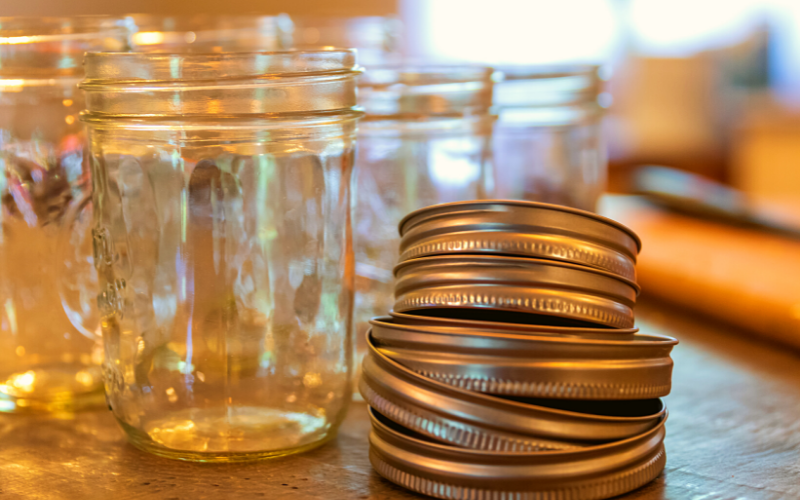
- When you adopt new jars, wash them in hot soapy water, pair them with brand new lids as much as possible.
Bonus tips to improve your plant-based pantry organization
- Labels, labels, labels! Have a big roll of labels and a permanent marker at hand, and label everything. (Chalk markers are cute but personally I haven’t found them to yield satisfactory results over the long term as my “label” can easily be rubbed off by accident.)
- Keep a stash of empty, clean jars or containers at hand on a shelf or in a drawer. When you get to the bottom of a given ingredient’s jar, grab a fresh container and slap the labeled lid from your empty jar on it. That way you won’t forget to clean the jar (an important trick to prevent pantry moths) and won’t put yourself at risk of adding dry ingredients to a not-completely-dry container.
- If you shop in bulk, add the approximate storage capacity of your ingredients on the label, so you know how much to buy next time. This will decrease your odds of ending up with extra ingredients you would have to send to secondary storage.